Page Contents
System Requirements
MongoDB : 7.0.14
1. MongoDB Installation
MongoDB installation is quite simple.
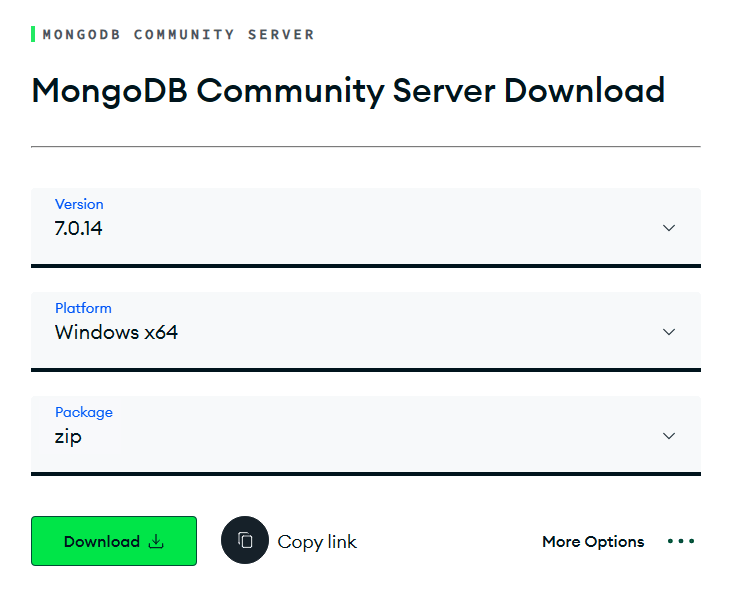
MongoDB is available as .zip file for Windows OS. You can download MongoDB from,
https://www.mongodb.com/download-center/community
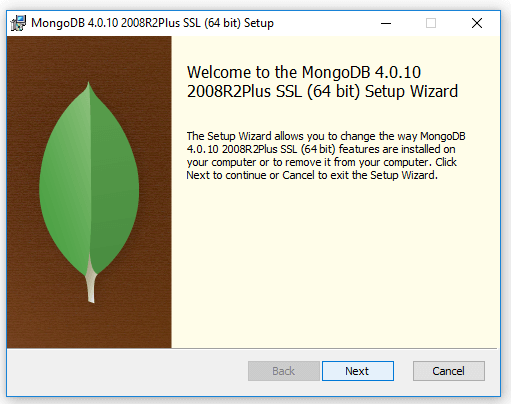
After running the EXE, you will be displayed with the below screen.
Click Next to continue.
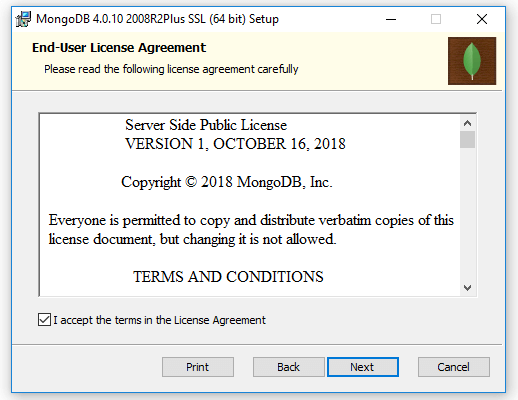
Click “Accept the terms” and then click “Next”.
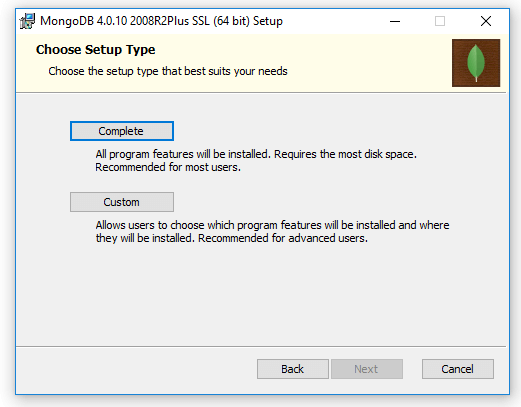
Now click Complete and then click “Next”.
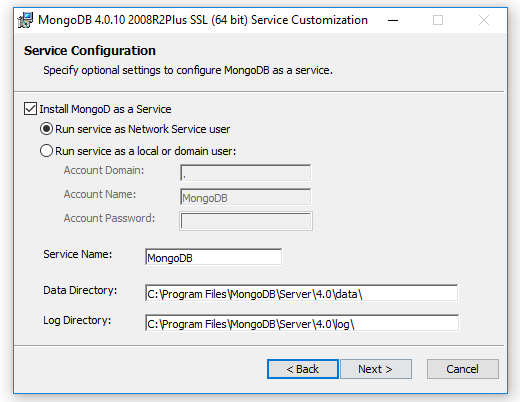
- Select Install MongoDB as a Service, MongoDB as a service.
- Select Run the service as Network Service user (Default)
- Service Name : Specify the service name. Default name is MongoDB.
- Data Directory : Specify the data directory path. If the directory does not exist, the installer will create the directory and sets the directory access to the service user.
- Log Directory : Specify the Log directory path. If the directory does not exist, the installer will create the directory and sets the directory access to the service user.
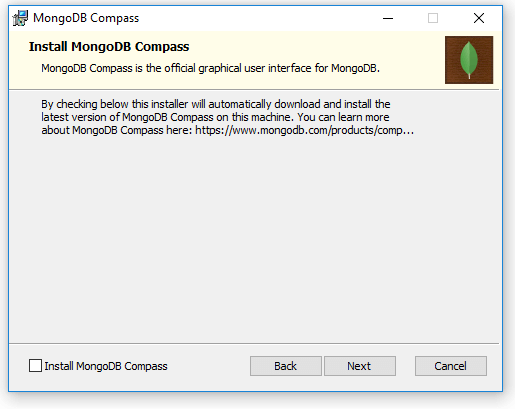
MongoDB Compass is a separate installation. That is not needed.
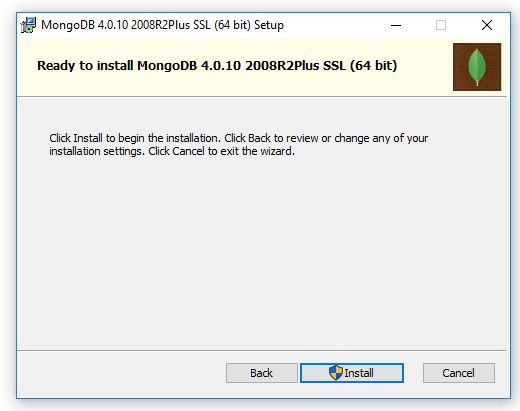
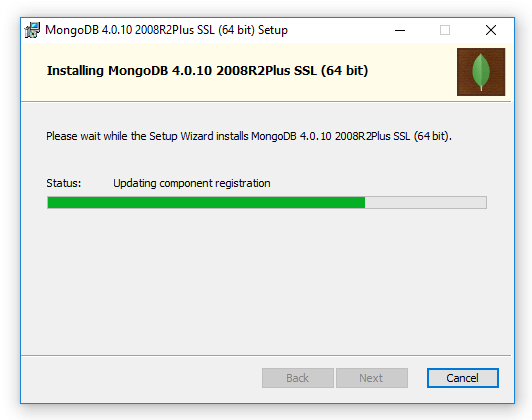
Click Install.
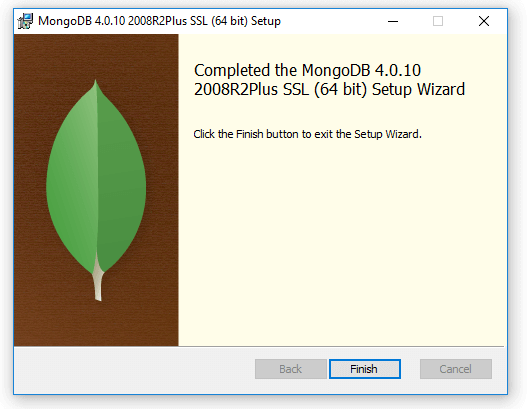
Finally, now hit Finish.
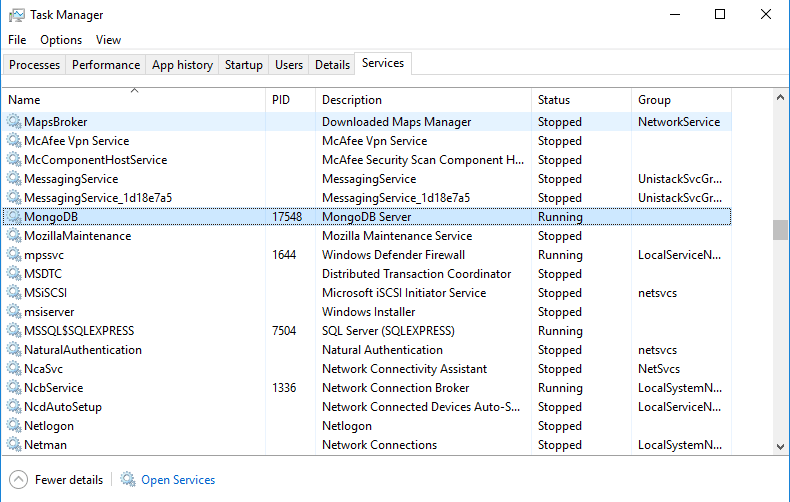
Now MongoDB will be installed as Window Services, you can check this in services.msc.
After completing MongoDB installation, download the Output Desk package version.
If you wish to set up MongoDB in one server & Output desk server in another server or want to enable authentication, please click here else ignore.
2. Output Desk Package Version Setup
- Download Output Desk Package Installer by contacting us.
- Now, download NSSM from https://nssm.cc/release/nssm-2.24.zip
- Unzip that file and choose your corresponding bit(32/64) and copy that nssm.exe to “C:\”
- Open command prompt and navigate to “C:\”. Install your service with “nssm.exe install Output Desk”
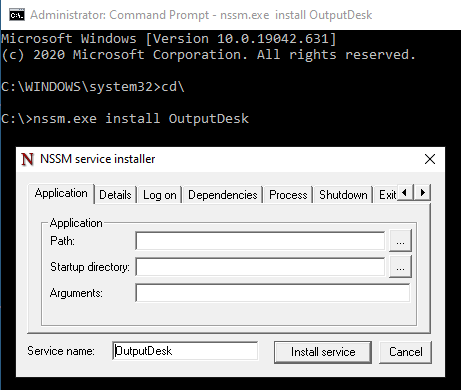
- This will open a pop-up in which you will have to locate the path where you are going to execute the version.
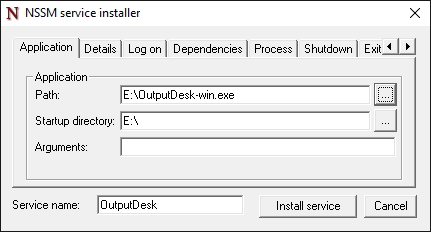
- After setting the path, navigate to the I/O tab. There in the textbox near to the field Output(stdout) & Error(stderr), you have set path for the folder pointing to the file named “output.log” & “error.log” respectively.
 Note: Create 2 text files with file name as “output.log” & “error.log”. And then do the above.
After doing this, please click “Install Service”.
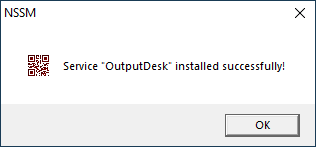
- Now the Output Desk package version has started running.
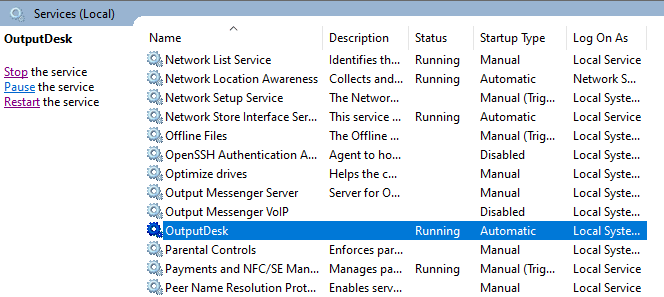
The setup is completed now. You can access Output Desk using: http://localhost:8234
3. License Setup
- After opening this url “http://localhost:8234” in browser, you will be directed to the registration page.
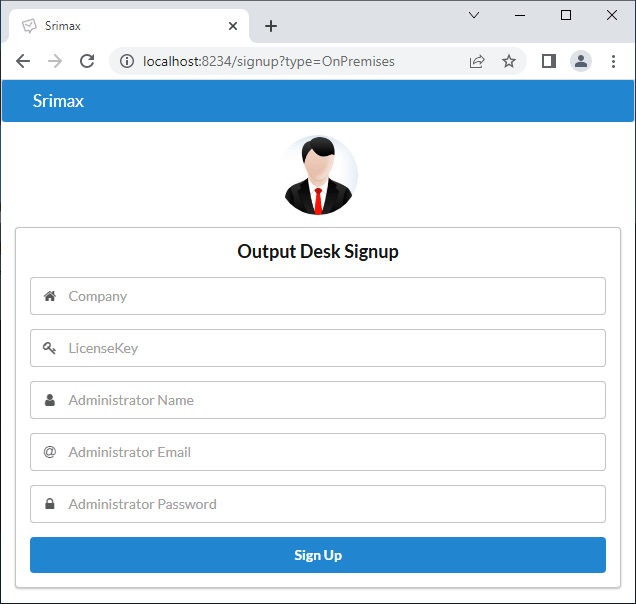
- Here, you can enter your license key and company details.
- On successful submission, you will be displayed with the login page. You can login using your Email id and Password.
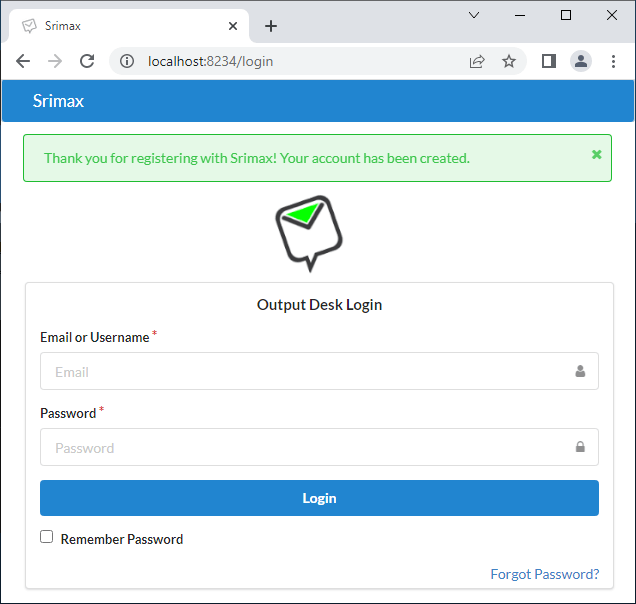
- Now You can start using “OutputDesk”
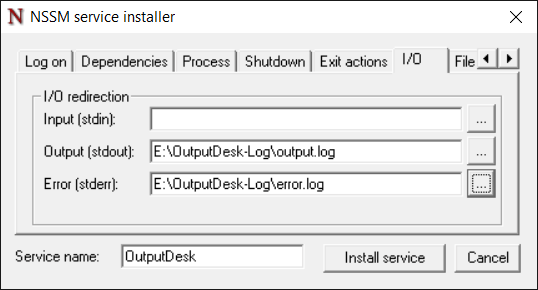 Note: Create 2 text files with file name as “output.log” & “error.log”. And then do the above.