Let us see how to migrate Output Desk from one server to the other server.
Steps to be followed for Server Migration
The following step-by-step explanation will help you to migrate Output desk to a new server with ease.
Database Backup
- Download MongoDB Tools
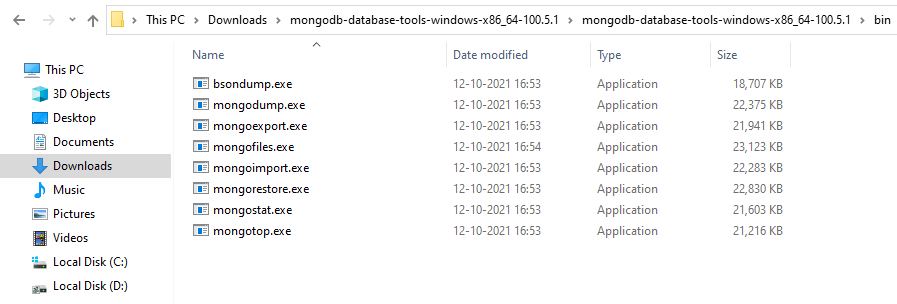
- Extract the downloaded zip folder. From the “bin” folder present in that, copy all the EXE present there.
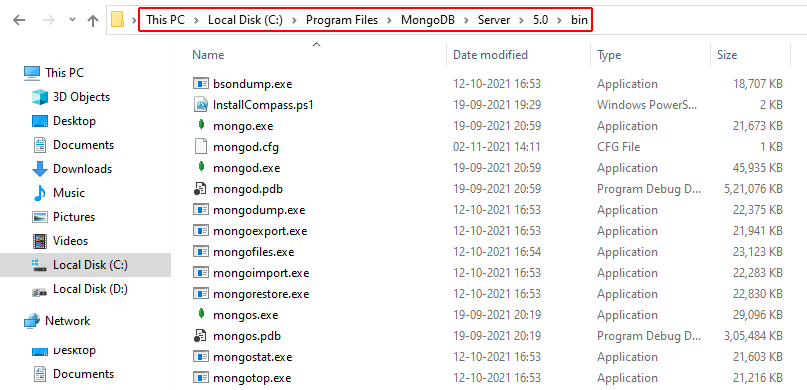
- Paste the copied exes in the MongoDB installed folder > “bin” folder.
- Now, open Command Prompt & navigate to the path in which you have installed MongoDB earlier. Move to the “bin” folder.
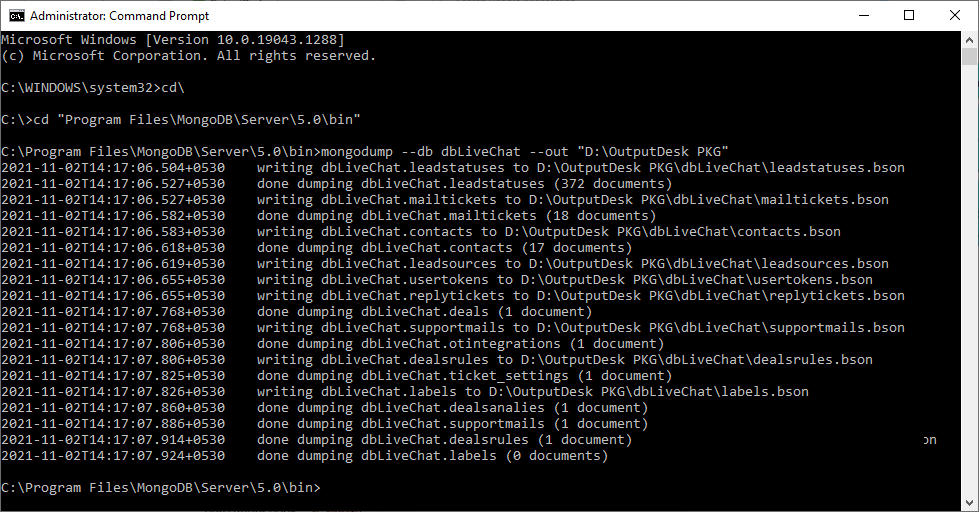
- Type & execute this command -> ‘mongodump –db {{DBNAME}} –out {{DOWNLOAD FOLDER}}. For instance:mongodump –db dbLiveChat –out D:\OutputDesk PKG .
- After successful execution of the above command, your screen will be like:

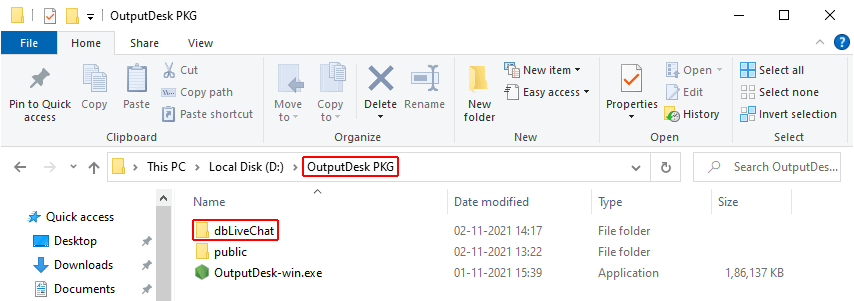
- Now the database will get downloaded in the “Download Folder” we have given in the above command.As per the above command, db will get downloaded in “D:\OutputDesk PKG\dbLiveChat“.
With MongoDB already installed in your system while you installed Output Desk On Premises version earlier, now it is required to download MongoDB tools that will help in this migration process.
Download MongoDB tools
Database Restore
Now it is time for the final step in migration.
- If you are migrating to new server, follow the 1, 2 & 3 (mentioned above) steps again. If you are migrating to other drive in the same old server, ignore & move to the next step.
- Now, open Command Prompt & navigate to the path in which you have installed MongoDB earlier. Move to the “bin” folder.
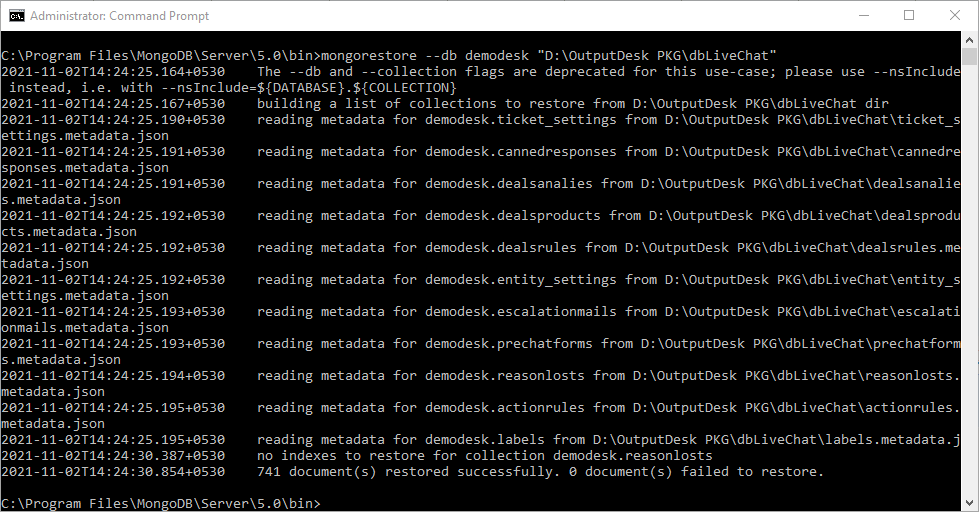
- Type & execute this command -> ‘mongorestore –db {{DBNAME}} “{{DATABASE DOWNLOAD PATH}}”. For instance:mongorestore –db demodesk D:\OutputDesk PKG\dbLiveChat.
Here is how your Database is before & after restore:

Now you have successfully migrated the Output desk database from old server to new server.
Note: In the above screenshots, we have changed the database name as “demodesk“. If you also wish to change the database name from default database name(dbLiveChat) to any other name, you will have to add the below line in the “client.js” file which is present in Output Desk Installed folder/public/config/client.js.
And then you can follow the above steps.
Or if you want to have the same default database name – dbLiveChat, you can continue as it is.
