Using Products option, you can enter all your products that you sell & manage customers of each of the product in Output Desk Ticketing & CRM centrally. Products are managed in the Administrator’s account.
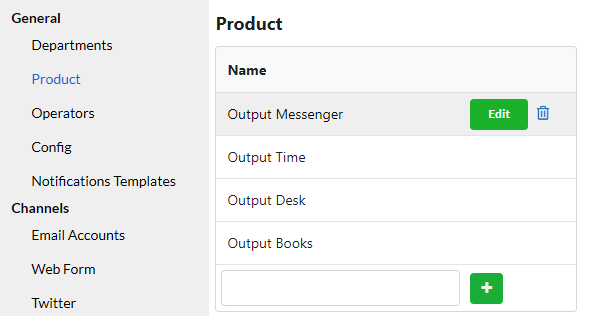
Products are listed under Product Menu.
Add a Product
To add a product,
- Open Settings > General & click Products.
- Enter the product name & click on the Add(+) icon.
Edit / Delete a Product
Click the Edit button associated with each product. Make essential changes and hit Save.
Click the Trash icon to delete a product.
Assigning Tickets to Product
Manual Assigning of Tickets to Product:
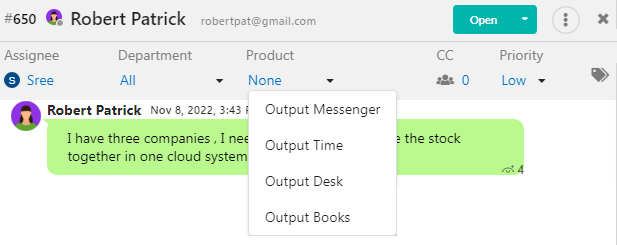
When you open a ticket, you can find the Product drop-down under the subject line. Click that to assign that ticket to the department.
Auto Assigning of Tickets to Product:
Email Tickets:
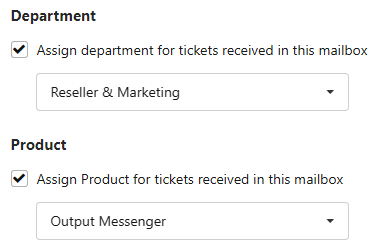
You can configure separate email account for each of your product in Settings > Channels > Email Accounts. So that emails received in corresponding product’s email ID will be created as tickets with the corresponding product auto assigned.
To configure email account for products, please Click Here.
Live Chat Tickets:
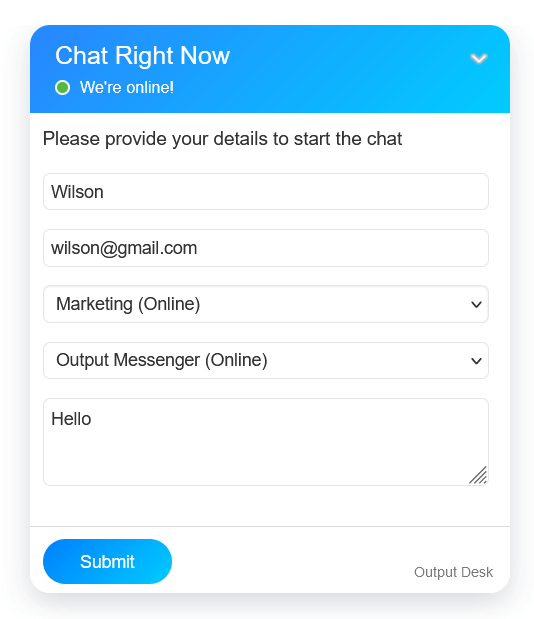
You can provide option in website live chat form for your web visitors to choose the product/software for which they want support for. This will auto assign the live chat tickets with the customer chosen product.
To provide option to choose product in website live chat, you can use Javascript API. For more details, Click Here.
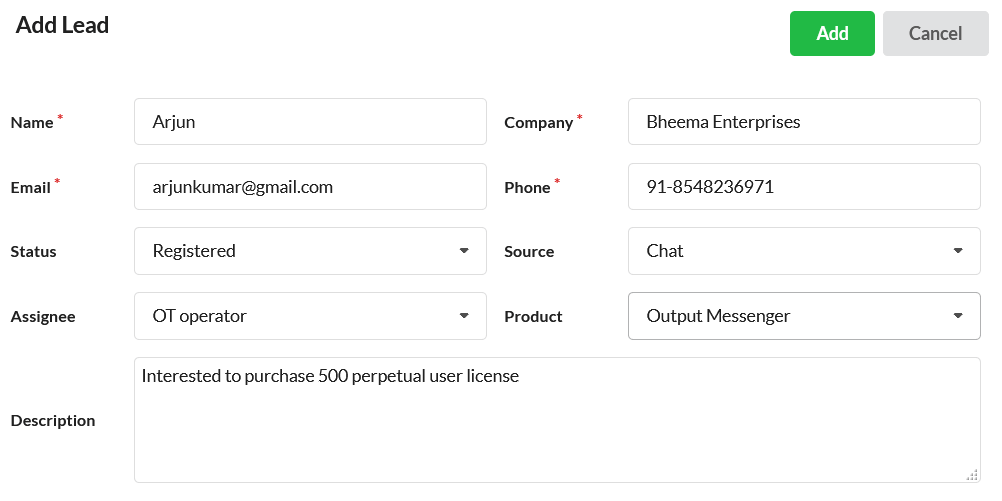
Using Products in CRM
You can create your customers as leads, deals & assign respective product to them in CRM. You can track & follow customers throughout the sales pipeline & close sales.
Creation of customers can be done manually as well as automatically, For more details, Click Here.
