A Lead is an individual who has shown interest in our company’s product or service, but you possess little information about that individual. Lead can also be called as a prospect. Lead Management is the process in which you gather information of the lead such the level of interest, company size, budget, etc. Leads are the first step in your sales process. This lead module is mainly responsible for boosting the sales of your organization.
Leads are usually generated from your marketing channels like email, live chat, web form, website, social media, call, etc. This leads can be brought into CRM either automatically or manually. Now, let us see how to create & manage leads in CRM.
Page Contents
Creating Leads
Generating Leads manually
After setting up Products, Lead status, Lead Source, go to the Output Desk Left panel and click on the CRM option. Choose Leads.
- On the window that appears, click on the New Lead button.
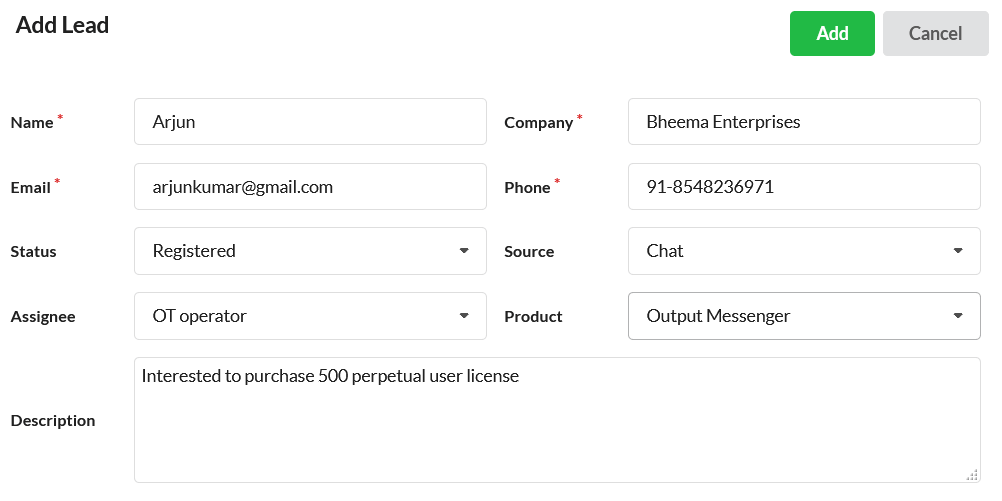
- Enter the Name, Email ID, Company, Phone number of your lead.
- Set the lead status, lead source, product.
- Also, select the Assignee(Support operator) for the lead.
- Enter a Description for the lead(if any) & click Save.
Your lead will be created successfully.
Automatic Leads Generation
Leads can also be generated automatically and brought into Output Desk CRM using API.
Sample API Request
-H “Accesskey-od:kJTYLEkghWLgjSvwt9f2cSTea”
-H “Content-Type: application/json”
-d ‘{“email”: “Chatresh@gmail.com”, “name”: “Chatresh”, “company”: “Chakradhar”, “phone”: “9742012345”,”product”: “Output Books”}’
-X POST
Sample Response
To create API token for your support operators, go to Settings > Operators > and Edit Operator. And click on the Generate API Key.
Managing Leads
All the leads created manually or automatically will be displayed in the Leads window. While hovering each lead, you can find three options present there which are:

- View
- Convert to Deal
- Delete
View Leads
Click on the View button associated with each lead. You will find the detailed window of the selected lead which has the below information.
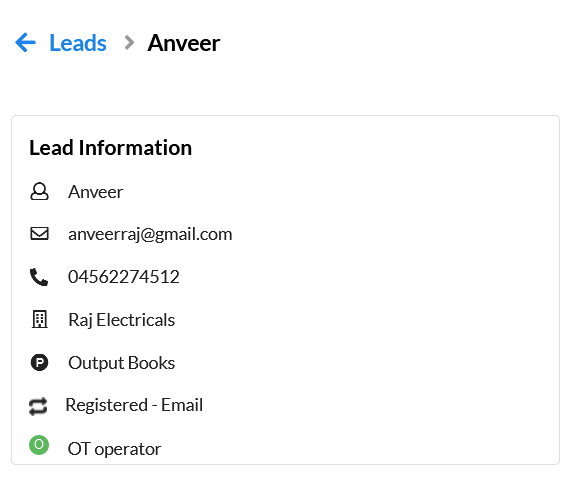
Lead Information
This session will display the lead’s name, company, email ID, product interested & contact info. Edit your lead information at any time.
Calls
In this session, you can create calls for the selected lead.
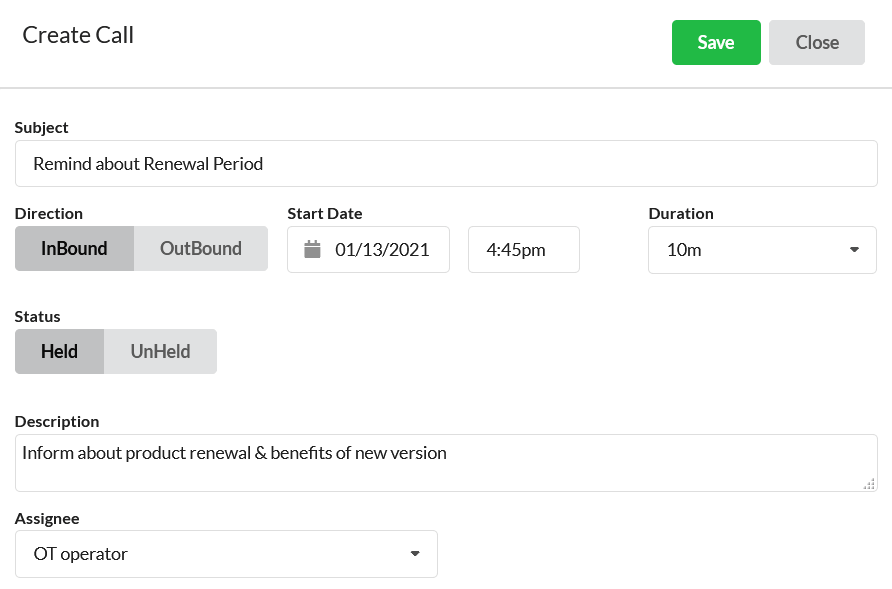
- Click on the + button to add a call.
- On the Create Call window appearing, enter the subject of the call.
- Set the direction of the call, i.e. choose whether the call is Outbound(outgoing call) or InBound(incoming call).
- Provide the Start Date and time.
- Now, set the status of the call. Select either Held or Unheld.
Held – This indicates that client has responded to the call(if Outbound) or you attended the lead’s call(if inbound).
Not Held – This indicates that the client has not responded to your call(if Outbound) or you missed the lead’s call(if inbound). Set the duration of the call (if call status is Held)
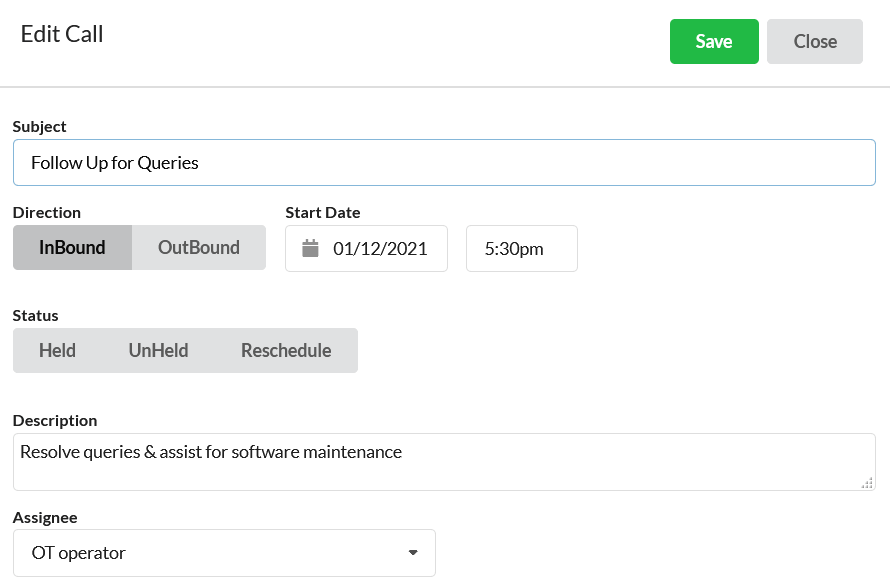
Reschedule – This option is for rescheduling the already held calls. Old calls that you had made for your leads can be rescheduled again.

- Provide description related to the lead or call & set the assignee for that lead.
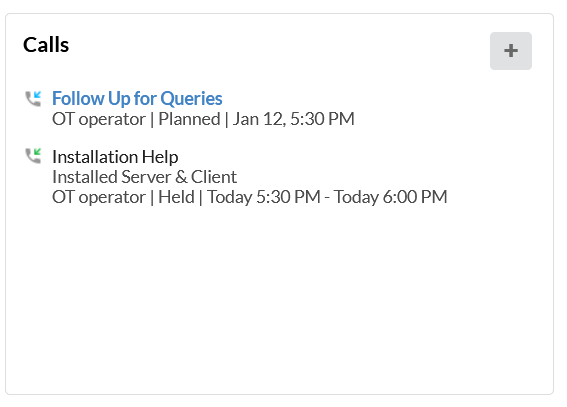
All the created calls for the selected will be displayed here. The automatic call addition set in CRM Rule > Actions will also be displayed here(if all conditions set match for the selected deal).
Tasks
In this session, create all the tasks that you performed/to be performed for this lead. Click on the + icon.
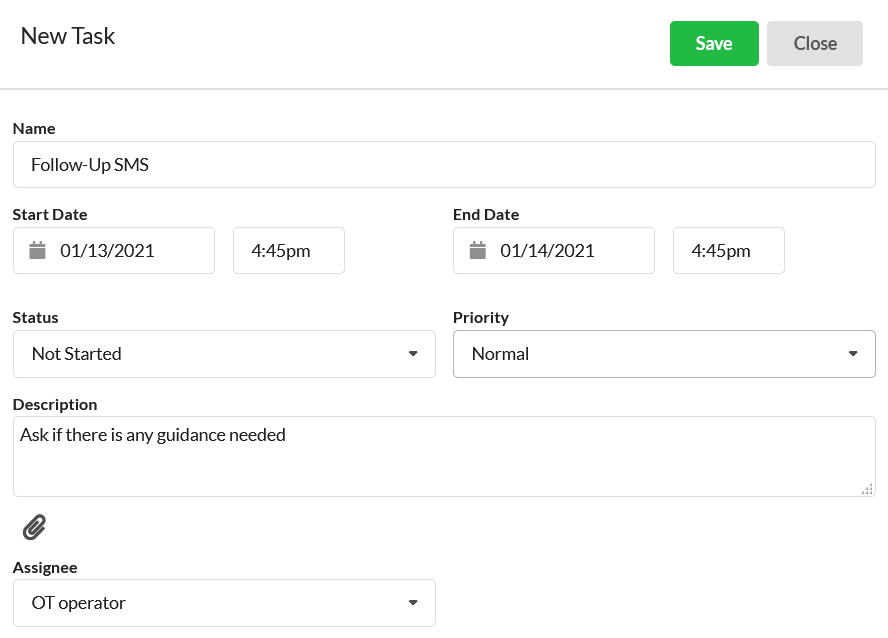
And enter the Task Name, set the start and end date along with time, set status & priority, enter description, add attachment(if any) and choose the Assignee for the task.
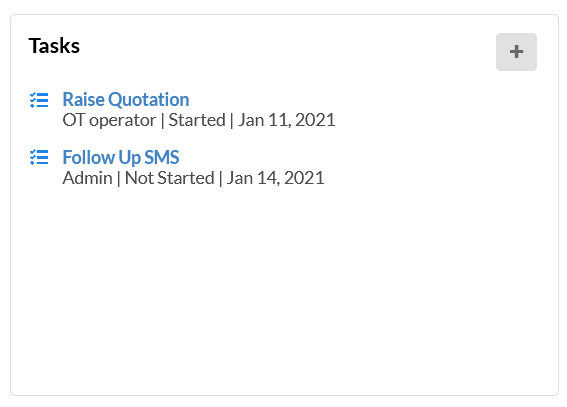
All the tasks created manually as well as the tasks that are added based on the CRM rule for this lead will be shown in this session.
Notes
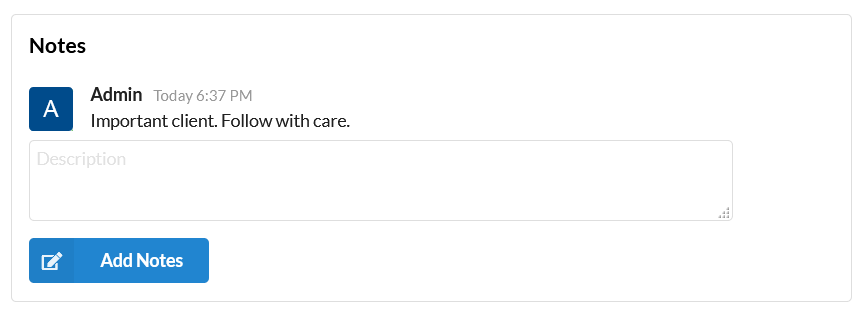
Provide any notes related to this lead for your reference and click Add Notes button.
Tickets
Create Tickets(Emails) for the selected lead in the Tickets session. Click on the + button and enter the subject, description, add attachment(if any). Click Save to send the email to that customer via Ticketing.

All the related tickets to the selected lead will be displayed here.
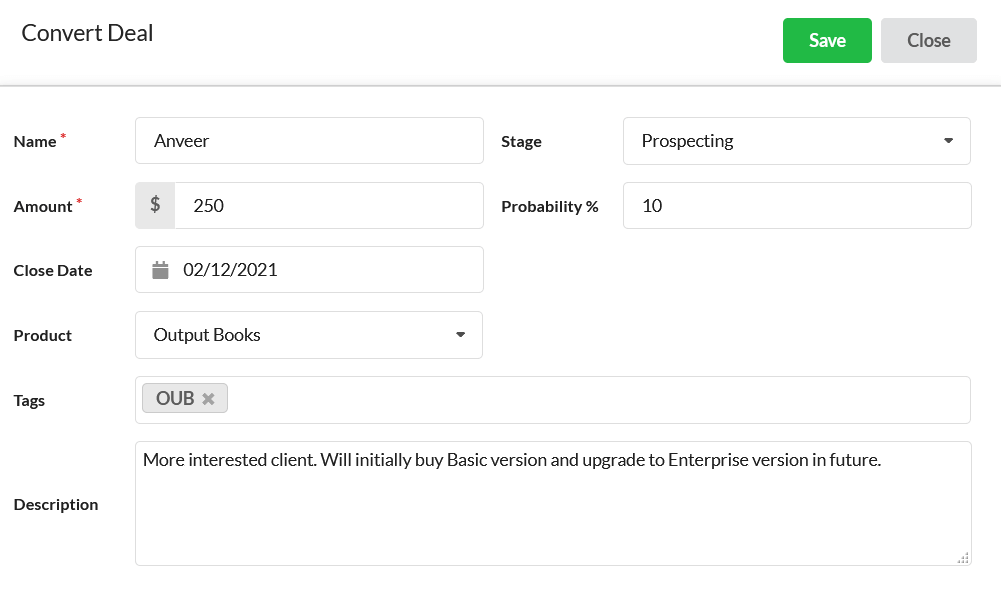
Convert to Deal
Click on this button to convert the selected deal directly to a deal. It means that you are moving the qualified lead to the next step in your sales process. On the Convert Deal pop-up that appears, enter all the details and set the deal stage.
Delete
Click on this delete button to delete the selected lead.
Filter Leads
Filter the leads created/generated based on the lead status or products. This will help you analyze the leads better. Use the Search option present at the top to search leads quickly.


